Genesis Audio
Genesis Audio Config Guide with GCX-ONE
Genesis Audio is configurable only if the user has the required permissions. Local Mode settings are not required — calls can be initiated via Genesis Audio even if Local Mode is disabled.
Part 1: Add Genesis Audio Device
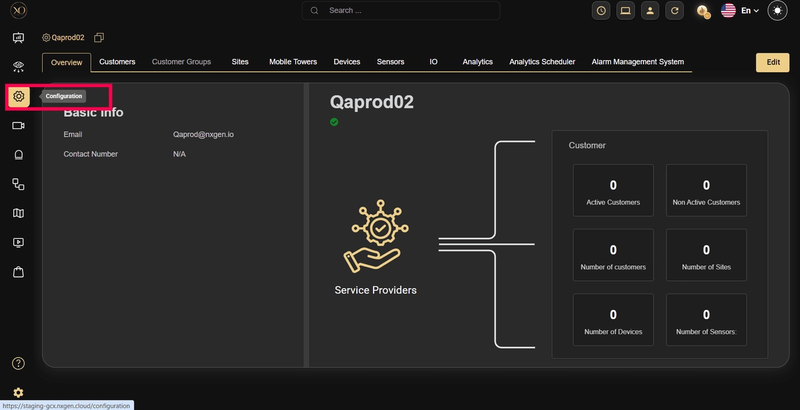
Step 1: Log in to GCX-ONE.
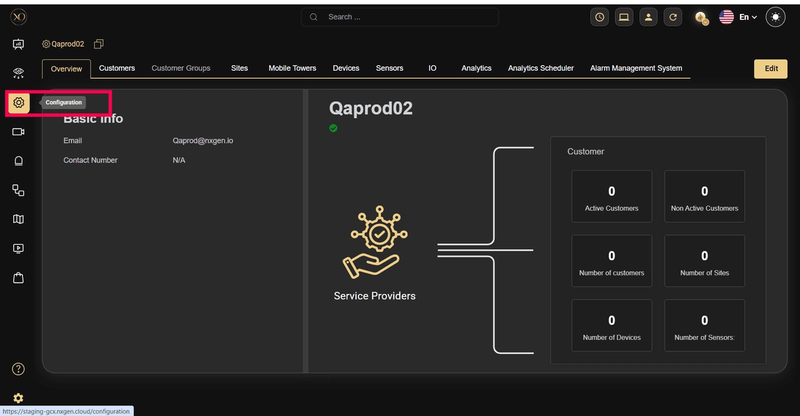
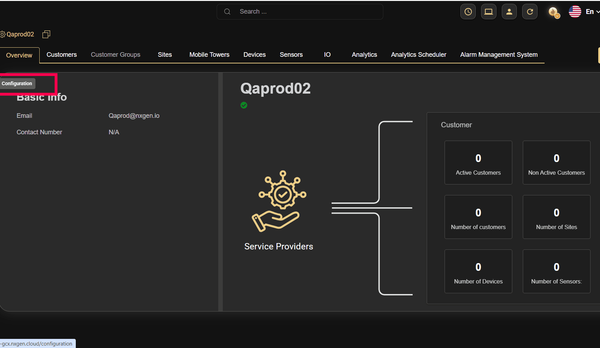
Step 2: Click the Configuration menu.
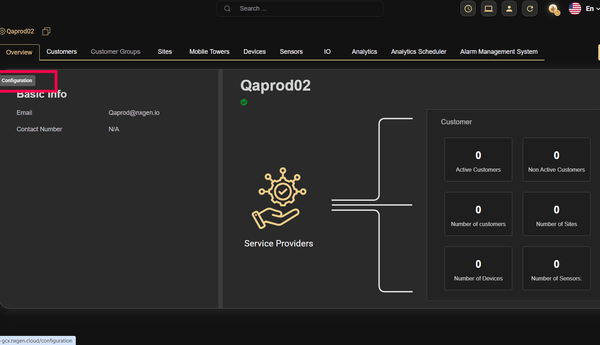
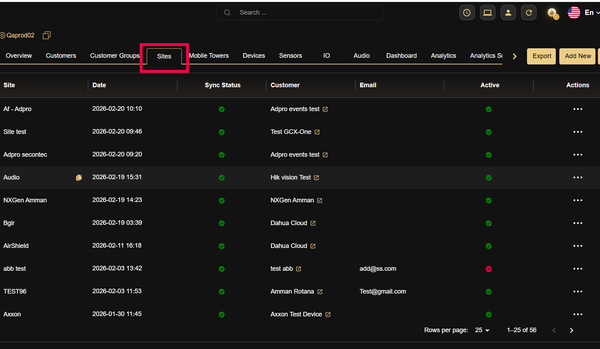
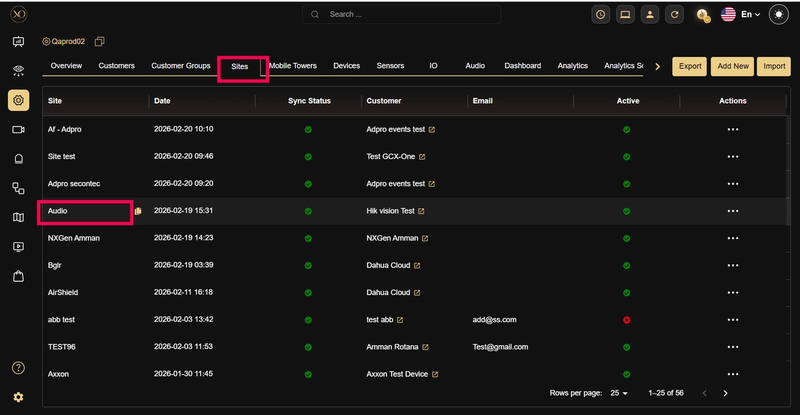
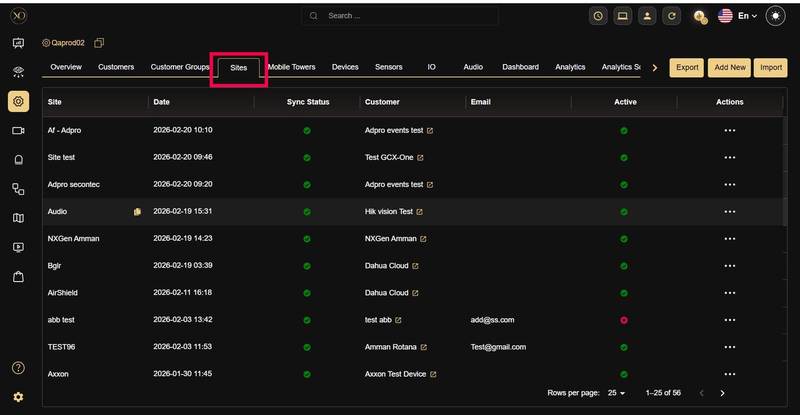
Step 3: Select the site under which the GENESIS Audio device needs to be added.
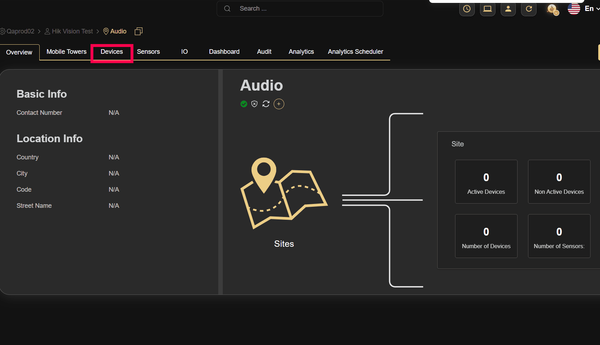
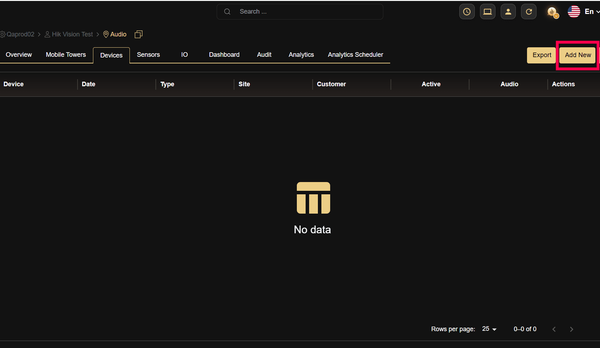
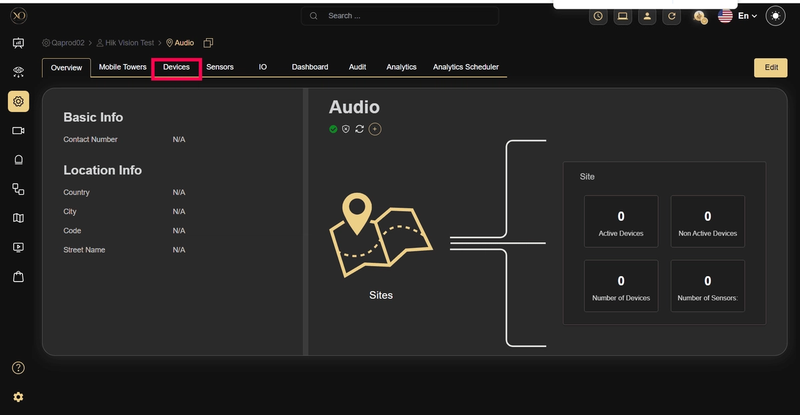
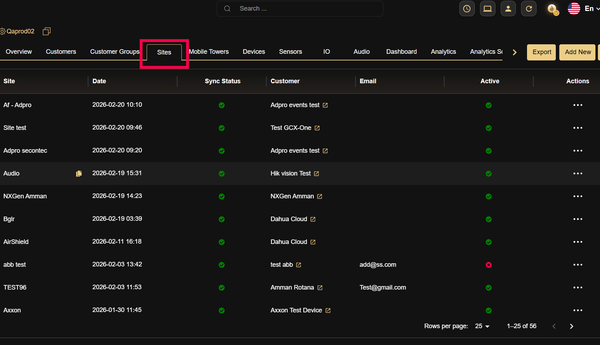
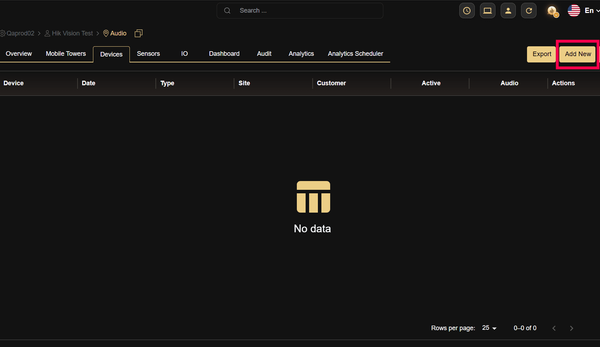
Step 4: Navigate to the Devices tab.
Step 5: Click the Add button.
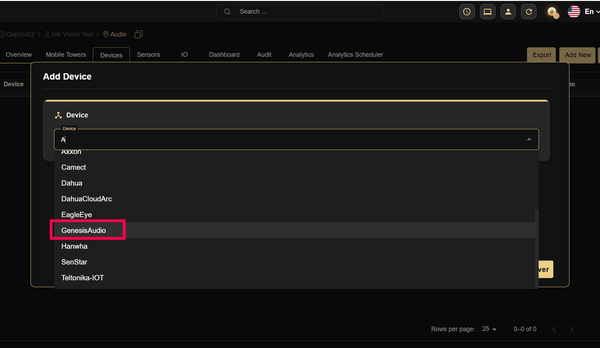
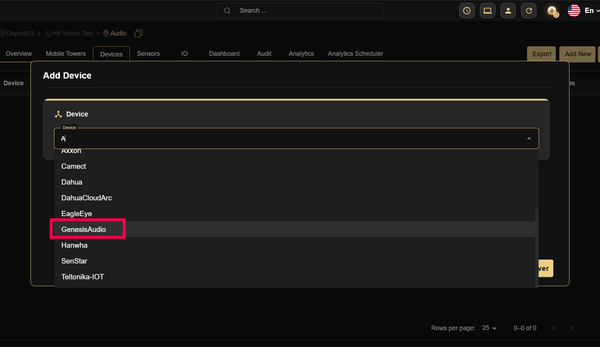
Step 6: Under General Settings, open the Type dropdown and select GENESIS Audio.
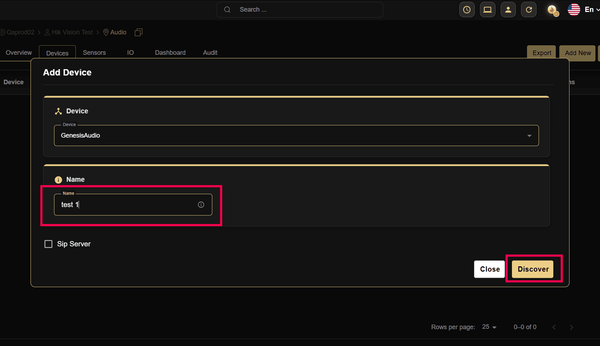
Step 7: Enter the desired Name and click Discover.
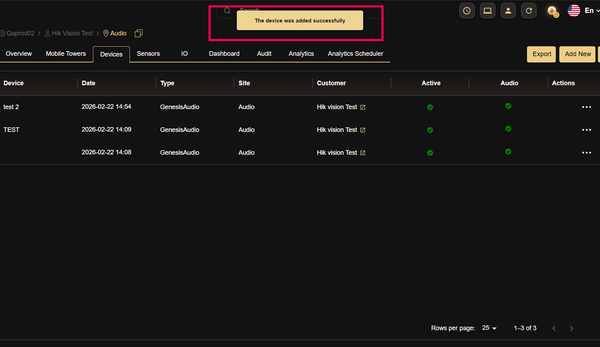
Step 8: Once the device is discovered, click Save.
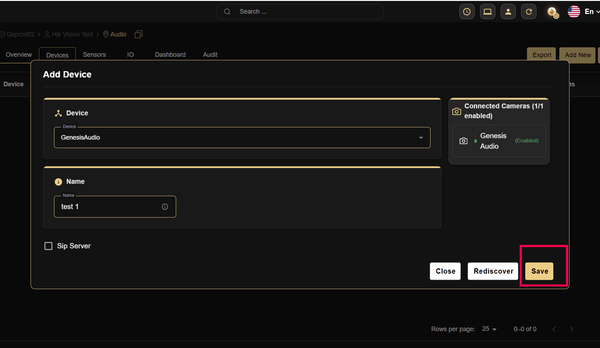
Step 9: A success message ("The device was added successfully") will be displayed, and the device will be added to the data table.

Note: Use the GENESIS Audio device credentials to configure the IP speaker.
Part 2: Initiate a Genesis Audio Call from Video Viewer
Step 1: Log in to GCX-ONE.
Step 2: Click the Configuration menu.
Step 3: Select the site and right-click to Expand the site
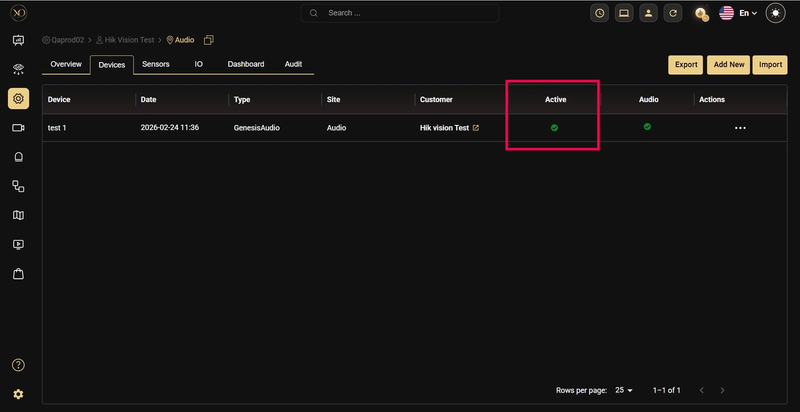
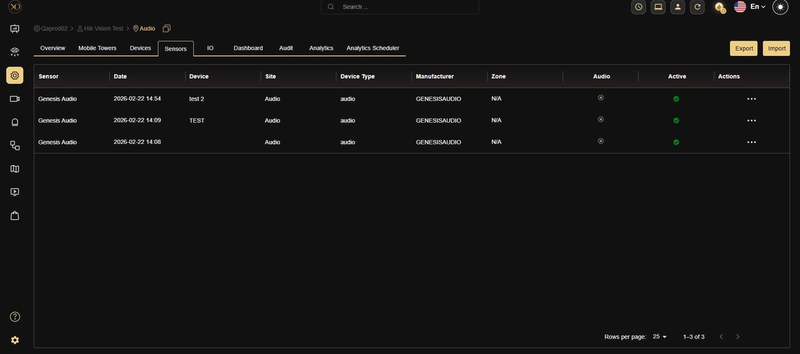
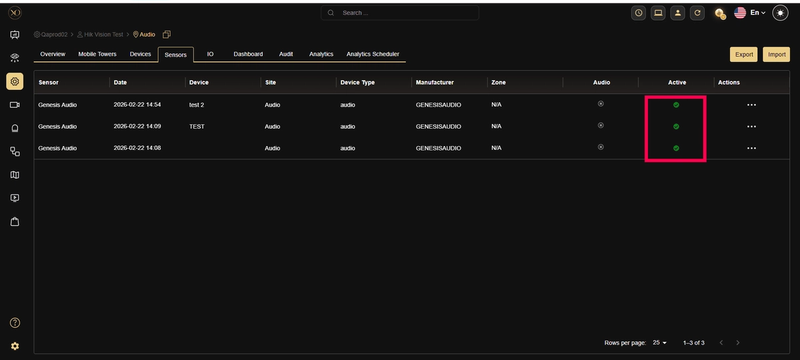
Step 4: Navigate to the Devices tab.

Step 5: Verify that the added GENESIS Audio device is active
Step 6: Navigate to the Video Viewer.
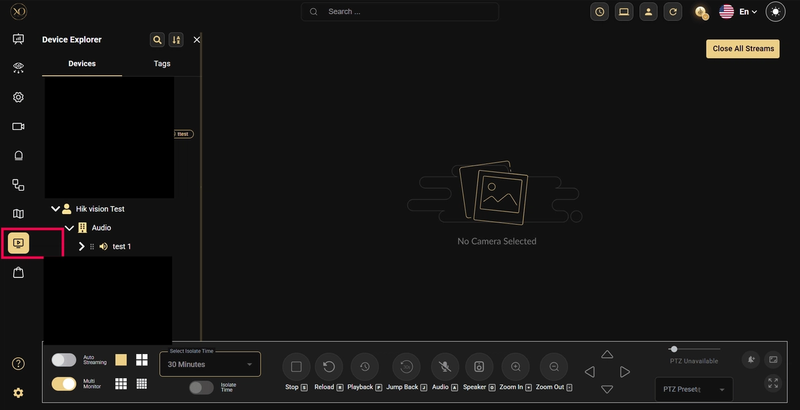
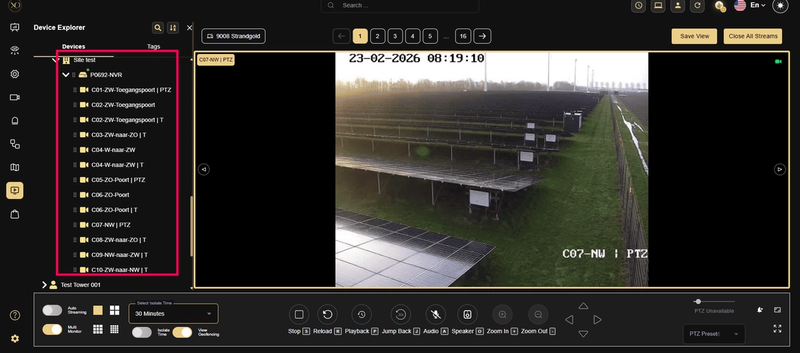
Step 7: Select the site in the tree view and expand it.
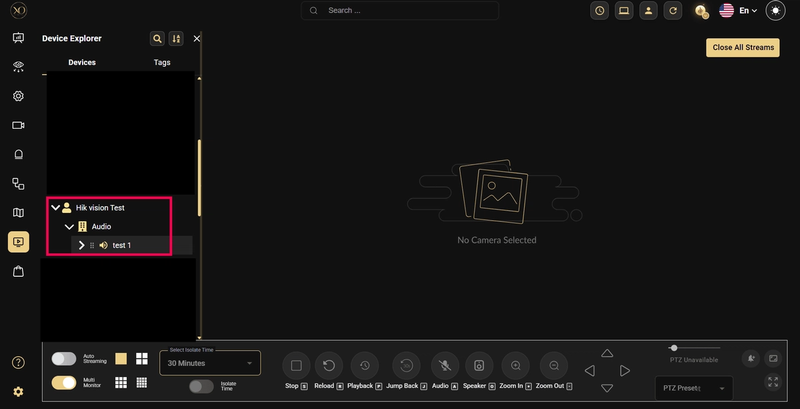
Step 8: Verify that the GENESIS Audio device is listed under the selected site.
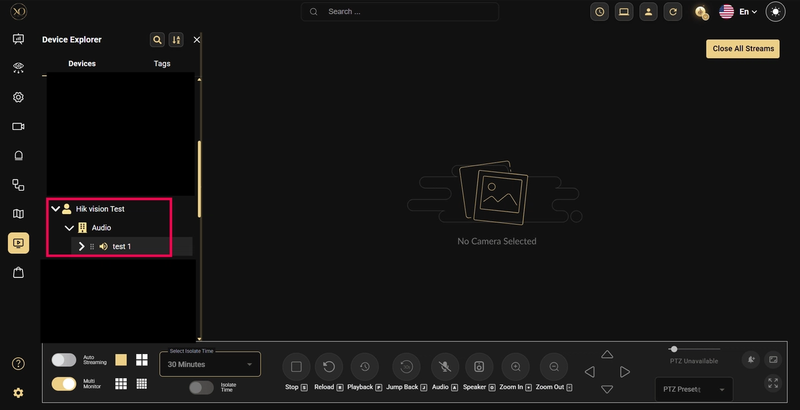
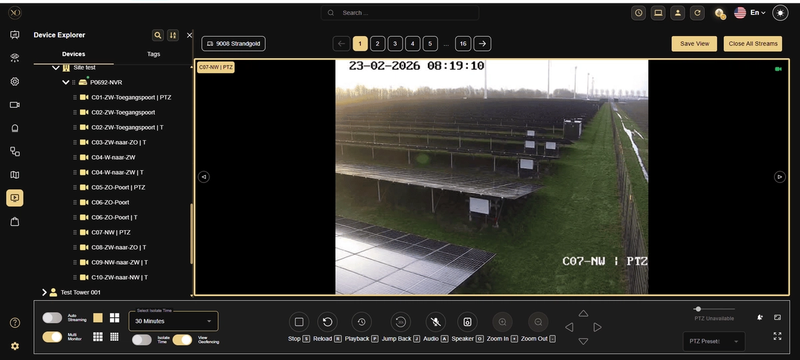
Step 9: Drag and drop a sensor from the site into the Video Viewer .
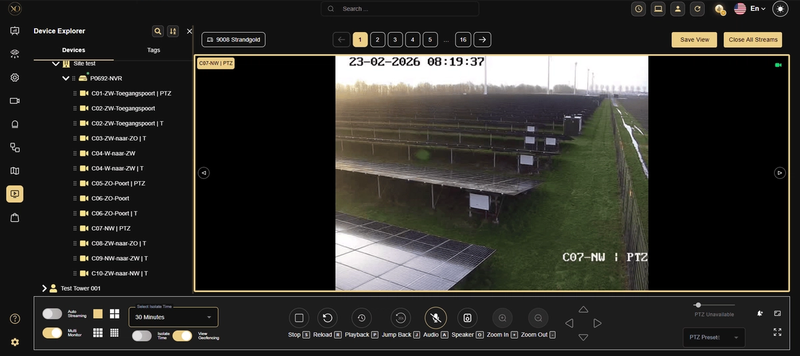
Step 10: Verify that the microphone icon is enabled.
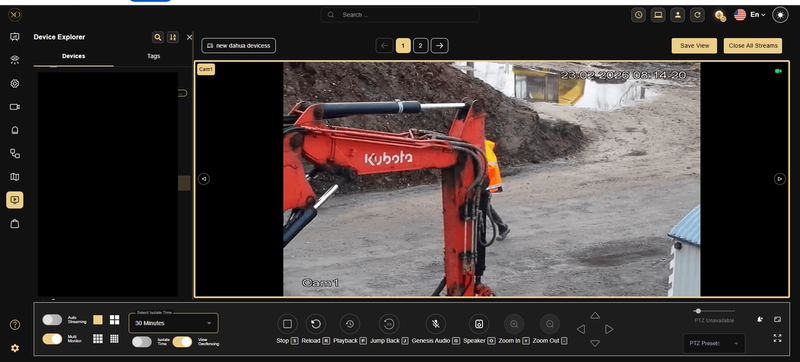
Step 11: Click the microphone icon. An audio call will be initiated.
Step 12: Once the call is connected, the microphone icon will change to indicate that the call is connected.
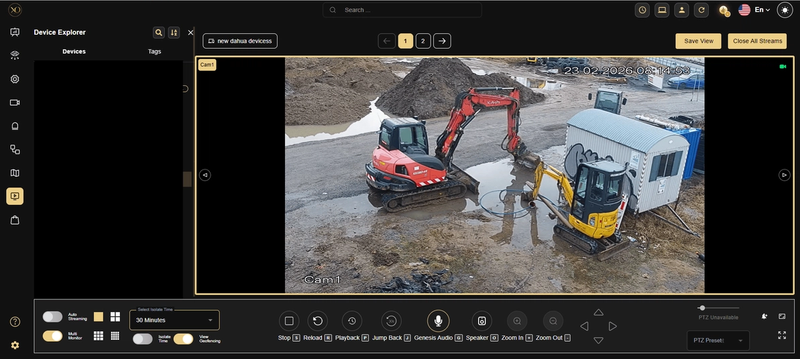
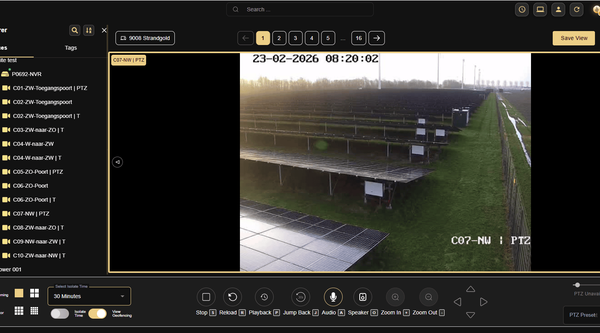
Step 13: Click the microphone icon again to disconnect the call.
The microphone icon will change to indicate that the call has been disconnected.
Note: The call will disconnect automatically if the user navigates to another application in GCX-ONE or clicks the refresh button.
Part 3: Test Device Default Audio
Important: Local Mode must be enabled to test the device’s default audio.
Step 1: Log in to GCX-ONE.
Step 2: Click the Configuration menu.
Step 3: Select the site and expand it.
Step 4: Navigate to the Devices tab.
Step 5: Verify that the device is active.

Step 6: Click on the sensors under the device.
Step 7: Verify that the sensor is active.
Step 8: Navigate to the Video Viewer (Salvo) application.
Step 9: Select the site and right-click to choose Expand All.
Step 10: Ensure that there is no active GENESIS Audio device under the site. If present, deactivate it to test default audio.
Step 11: Drag and drop a sensor into the Video Viewer (Salvo).
Step 12: Verify that the microphone icon is enabled.
Step 13: Click the microphone icon. The call will be initiated using the device’s default audio.
Step 14: The microphone icon will change to indicate that the call is connected.
Step 15: Click the microphone icon again to disconnect the call. The microphone icon will change to indicate that the call has been disconnected.
Note: The call will be disconnected automatically if the user navigates to another application in GCX-ONE or clicks the refresh button.
Part 4: Add Genesis Audio Device with Custom SIP URL
Step 1: Log in to GCX-ONE.
Step 2: Click the Configuration menu.
Step 3: Select the site under which the GENESIS Audio device needs to be added.
Step 4: Navigate to the Devices tab.

Step 5: Click the Add button.
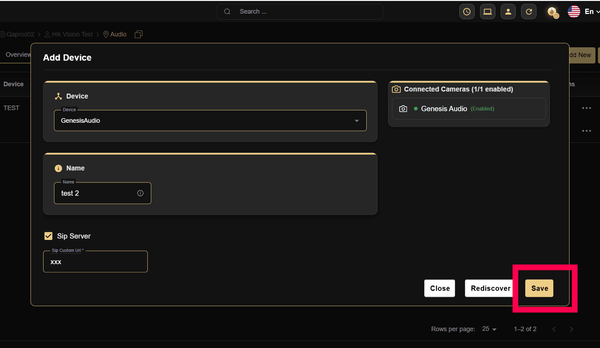
Step 6: Select the device type as GENESIS Audio.
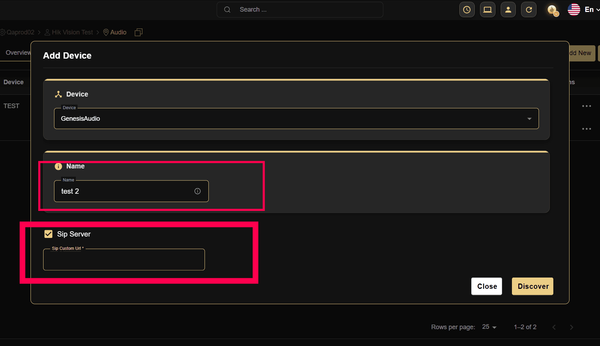
Step 7: Enable the SIP Server checkbox
Step 8: Edit the name if required
Step 9: Enter the Custom SIP URL in the provided field
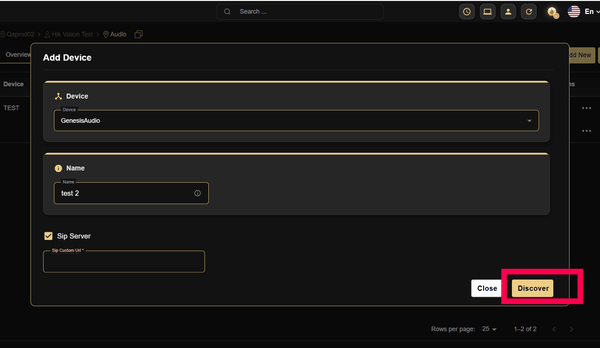
**Step 10: **Click the Discover button.
Step 11: Click the Save button.
Step 12: The GENESIS Audio device with the Custom SIP URL will be added successfully, and a success popup message (“The device was added successfully”) will be displayed.