Mask
What Mask Does
Mask blocks specific areas of a camera feed from view. You apply it directly from Video search to hide sensitive zones without interrupting live monitoring or recording.
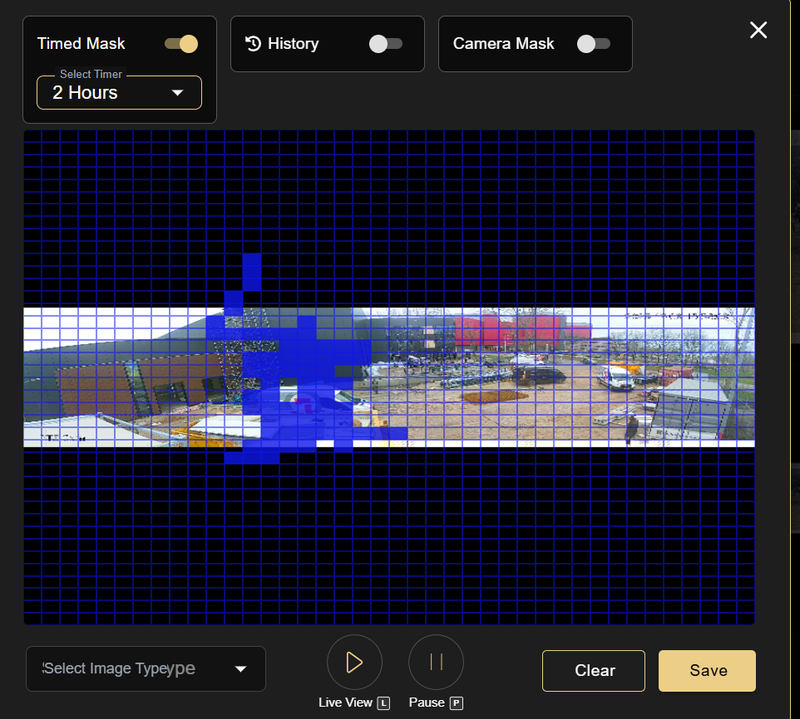
GCXONE provides three mask options: Timed Mask, History, and Camera Mask. Each serves a different purpose and can be applied independently or in combination.
Why It Matters
Privacy compliance requires that certain areas remain hidden from camera feeds. Mask gives you direct control over what is visible on screen — without modifying camera hardware or pausing the stream. Masks apply instantly and remain consistent across sessions. When requirements change, you update the mask in one place and it takes effect immediately.
How It Works
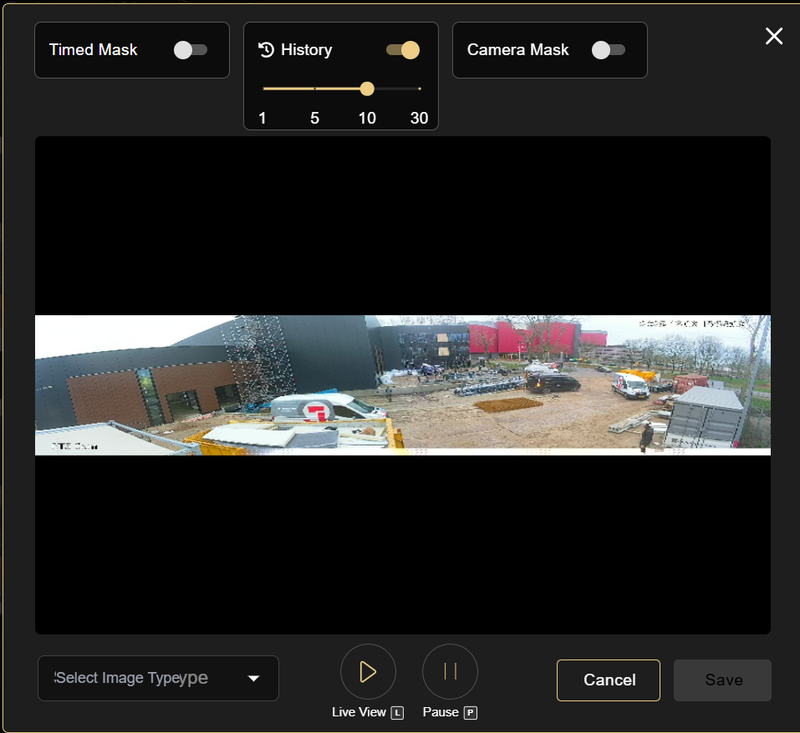
Mask can be accessed from two places in GCXONE. Both open the same panel with three toggles: Timed Mask, History, and Camera Mask.
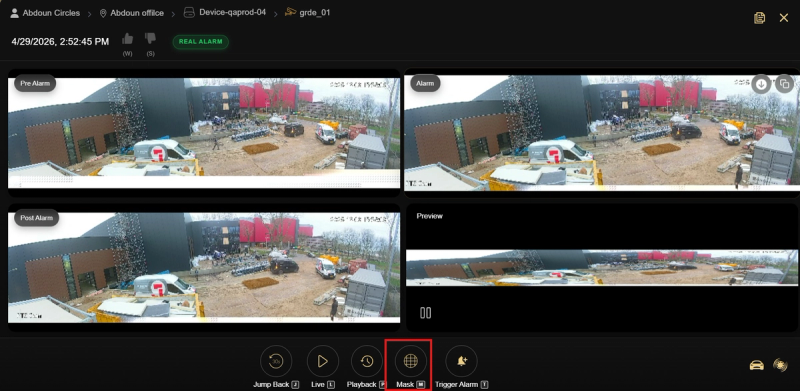
From Video Search:
- Navigate to Video search app
- Double click on any event.
- Click on the mask button.
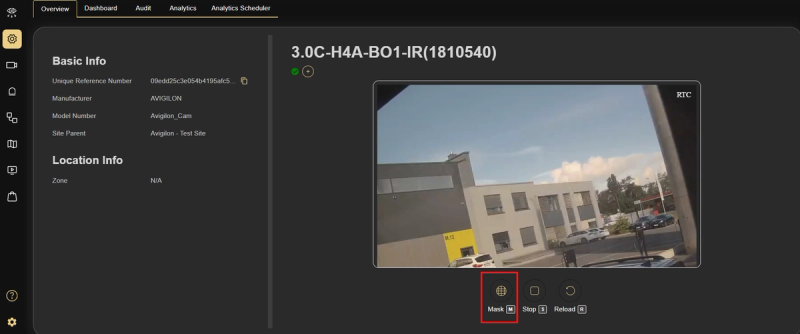
From Sensor Overview:
- Navigate to Configuration → Devices → select a device.
- Go to the Sensors tab and select a sensor.
- From the sensor's Overview page, click the Mask button below the camera feed.
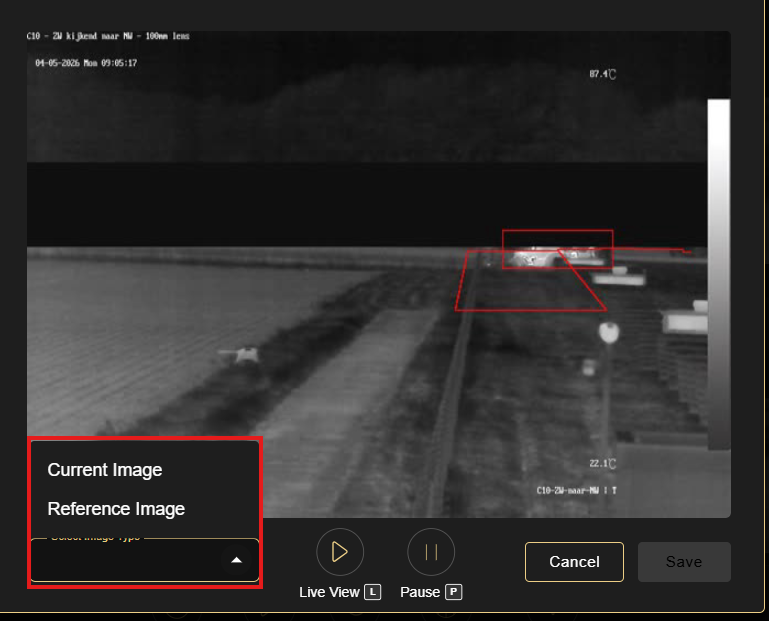
Before applying any mask, select the image reference from the Select Image Type dropdown. Current Image uses the live camera frame as the reference. Reference Image uses a stored snapshot — useful when the live feed is dark or obstructed.
-
Timed Mask (Temporary)
A time-limited block on a camera zone, denoted by a blue grid over the frame. Particularly useful for Operators to stop receiving events from a specific sensor during defined time periods. Select the timer duration — 30 minutes, 1 hour, or 2 hours — then draw the zones you want to block and save. The mask clears automatically when the time expires. Accessible by Admins and Operators.
-
History uses:
past activity data as a reference for masking decisions. A slider lets you select the history period: 1, 5, 10, or 30 days. GCXONE analyzes the selected period and highlights zones based on recorded activity.
-
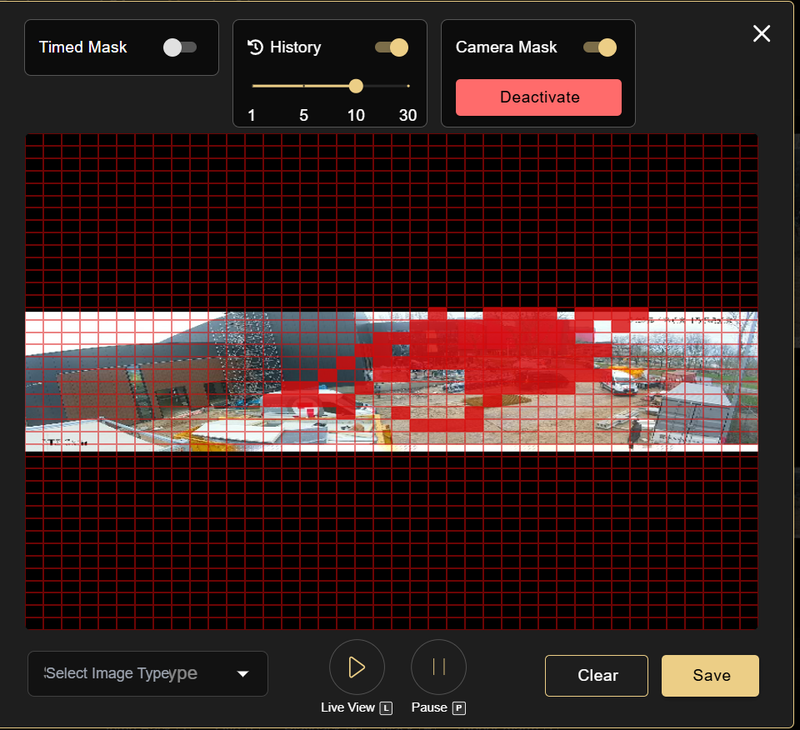
Camera Mask:
A permanent, grid-based block applied directly to the camera feed, denoted by a red grid over the full frame. Click Activate, select the cells you want to block, then save. Use Clear to reset the selection at any time. Accessible by Admins only
Real-World Use Cases
- Healthcare facilities use Camera Mask to block patient rooms and treatment areas permanently from operator view while keeping corridor monitoring active.
- Corporate offices use Timed Mask during sensitive meetings to hide conference room feeds for a defined period - then restore full visibility automatically.
- Security teams use History to review activity patterns on high-noise cameras and identify zones that consistently trigger false alarms.
- Retail environments apply Camera Mask to staff-only areas and back offices, ensuring live feeds never expose restricted zones to operators.
Best Practices
- Use Camera Mask for zones that must always remain private. Timed Mask is not suitable for compliance-critical areas.
- Select Reference Image when the live feed is dark or obstructed - it gives you a stable frame to work against.
- Use History with a 30-day period for the most accurate activity baseline before deciding on mask zones.
- After repositioning a camera, recheck all Camera Mask zones - physical movement may expose previously blocked areas.